前言
GitHub 提供了一個有限度自訂個人檔案的功能。
只要在自己的帳號中建立與帳號相同名稱的儲存庫,
其中的 README.md 檔案,將會展示在個人頁面上方。
之前我只放了一些在 GitHub 活動或紀錄相關的統計圖,
如星星、提交、PR、Issue 等等的數量,
以及自己各種語言的使用比例。
正好這幾天發現了 Platane/snk 這個專案,
這專案展示了以自己的 GitHub 貢獻圖製作貪食蛇動畫的有趣功能
原始貢獻圖

原始貢獻圖
貪食蛇動畫

貪食蛇動畫
線上試玩
snk 專案提供了一個線上試玩的頁面,
進入以下網址後,輸入自己的 GitHub 帳號,即可即時生成貪食蛇動畫
正式開始
由於最終目標是要在 GitHub 個人頁面展示貪食蛇動畫,
建立與帳號同名儲存庫並建立 README.md 的流程就請自行參考 GitHub 文件了。
這邊主要說明如何利用 GitHub Actions 定時自動更新圖片,並將其展示於上述位置。
步驟非常簡單,snk 專案也提供了完整的範例,以下只針對重點說明。
- 進入 GitHub 中與帳號同名的儲存庫,點擊
Actions進入 GitHub Actions 頁面 - 點擊
New workflows建立新的工作流程 - 檔名自訂(供自己辨識用),內容貼上以下設定,並將
github_user_name參數的值改為自己的 GitHub 帳號以下針對重點部份簡單說明:1 2 3 4 5 6 7 8 9 10 11 12 13 14 15 16 17 18 19 20 21 22 23 24 25 26 27 28 29name: generate animation on: schedule: - cron: "0 */6 * * *" # every 6 hours workflow_dispatch: jobs: generate: runs-on: ubuntu-latest timeout-minutes: 10 steps: # generates a snake game from a github user (<github_user_name>) contributions graph, output a svg animation at <svg_out_path> - name: generate github-contribution-grid-snake.svg uses: Platane/snk@master with: github_user_name: jyhsu2000 svg_out_path: dist/github-contribution-grid-snake.svg # push the content of <build_dir> to a branch # the content will be available at https://raw.githubusercontent.com/<github_user>/<repository>/<target_branch>/<file> , or as github page - name: push github-contribution-grid-snake.svg to the output branch uses: crazy-max/[email protected] with: target_branch: output build_dir: dist env: GITHUB_TOKEN: ${{ secrets.GITHUB_TOKEN }}name:工作流程名稱(供自己辨識用)。on:工作流程觸發時機。
其中schedule為排程執行,我這邊設定為每 6 小時執行一次,撰寫方式可參考 crontab.guru;
(唯須注意 GitHub Actions 重複執行的最小間隔為 5 分鐘)
而workflow_dispatch則是使該工作流程可以由網頁界面手動觸發。(畢竟我不想要為了看結果要等好幾個小時🤣)jobs:執行的步驟。
第一步驟是利用自己的貢獻圖生成貪食蛇動畫,其中github_user_name參數記得改為自己的 GitHub 帳號。
第二個步驟則是將前一步驟所生成的 svg 圖檔推送至該專案的output分支
- 進入 GitHub Actions 頁面,點擊前面建立的工作流程,並按下
Run workflow使其開始執行 - 待執行完成後,即可由專案看到多了一個
output分支,進入該分支,找到該檔案
並於該檔案檢視頁面按下右上角的raw取得實際圖檔網址;或自行使用以下格式https://raw.githubusercontent.com/帳號/儲存庫/output/github-contribution-grid-snake.svg - 將上述網址以圖片形式加入主要分支的
README.md中,如:1
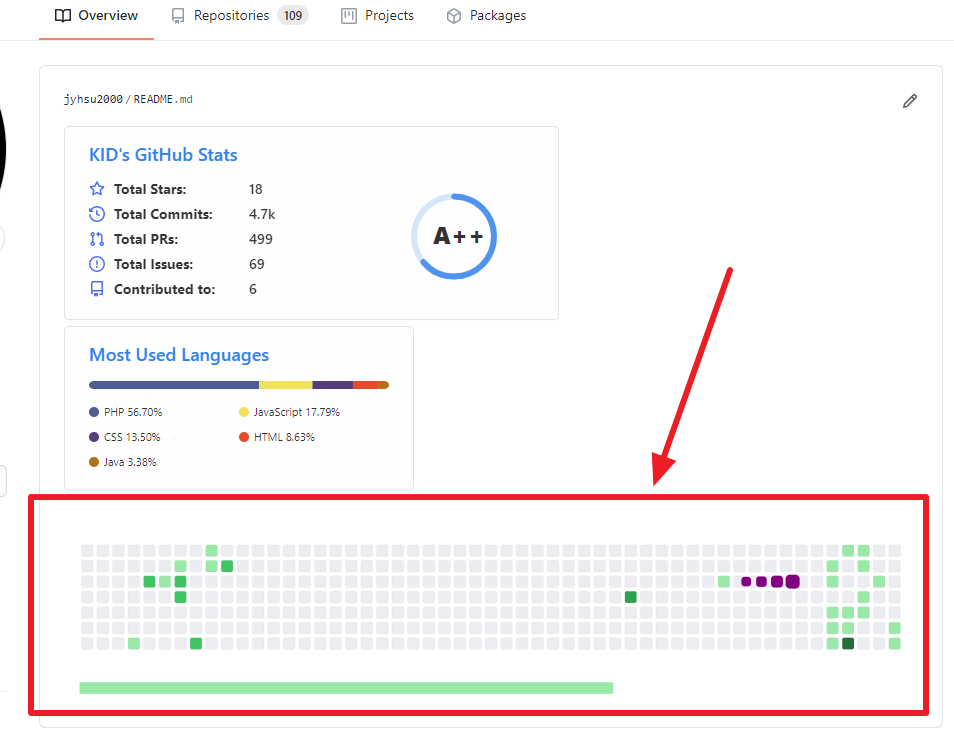
成果截圖